Process of work of the photoengraving.
Brief historical data
Photogravure was part of the early attempts at the discovery of photography. Several previous experiments had been performed by Nicéphore Niépce and Henry Fox Talbot, derived from the pre-existing gravure and etching techniques. Finally, after the first negative-positive systems appeared and, responding to a problem with the permanence of his paper positives (1-Shaaf), Henry Fox Talbot patented the first photogravure method in 1852. Many years later, in 1879, the photographer and engraver Karel Klíč, modified the early Talbot method, taking advantage of Joseph Swan's and Louis de Poitevoin's technique for the so-called carbon printing method. Klíč's decisive contributions were the aquatint grain on the copper plate and the use of gelatinized paper sensitized with potassium or ammonium bichromate, known as the carbon tissue. This became known as the Talbot-Klíč method.
Motivation
My interest in photogravure began in 1985. I had seen some photogravure reproductions from the American photographer Jon Goodman in an issue of Camera Magazine in Switzerland (2-Goodman) and I was captivated by the description of the procedure. Looking for further information, I discovered that some important photographers such as Edward S. Curtiss, Alvin Langdon Coburn, Alfred Stieglitz, Paul Strand and many others, had reproduced some of his images as photogravures. In his book The Printed Picture, the photographer, printer and teacher Richard Benson says, "The result could be more beautiful than anything else in photography". (3-Benson). Two years ago, having retired, I finally had the opportunity to explore this beautiful technique. After what can only be described as mixed results, I am finally obtaining what I dare to describe as quite good results. As well as the complexity of the photographic part of the process, photogravure presents an added difficulty since it requires skills in printing techniques. This prolongs the learning process.
Materials and products
There are some materials and devices that are needed to perform a photogravure on copperplate. Firstly, a system to obtain a positive transparency of the image to be etched. It could be a photographic black and white slide or a fine quality inkjet-printed version from a digital file. I now use an EPSON R3000 printer with the Epson Ultrachrome Ink Set and the control software QuadTone RIP and print on Pictorico OHP film (see suppliers).
Other materials to be considered are gelatinized paper, which one can prepare oneself or, the only one that is still available today on the market, Dragon Gravure, which can be purchased from Cape Fear Press (see suppliers). Also a yellow safety light free of UV radiation and a solution of potassium bichromate (K2Cr2O7) 3% to 5% in water, the concentration affecting the contrast of the final print.
An aquatint box to grain the plates is also necessary. An alternative is a transparent screen of randomly distributed tiny points, digitally prepared in a computer and photographically printed on high contrast black and white film. This is my current option. A vacuum contact press is used to expose the carbon tissue both through the screen and the positive transparency to a suitable ultraviolet (UV) lamp source (4-Mitjà). Finally, all the usual materials and tools in an engraving workshop are needed, such as copperplates, trays for the several wet steps, ferric chloride (FeCl3) baths in different concentrations, etching inks, inking and wiping accessories, blotting paper, etching paper and an etching press.
Hybrid analogue/digital workflow
As improvements to the classical procedures and taking advantage of a hybrid scope, I use several digital techniques that contribute to the final quality of the photogravure on copperplate. The positives derived from digital files, both digital captures or scanning pictures on film, can be accurately processed in the computer to a level hardly achievable by photochemical methods. After a given image is technically and aesthetically finished, digitally printed positives provide direct control over the total density range by means of the QuadTone RIP printer controller mentioned above.
But probably the best contribution from digital techniques is the preparation of suitable digital screens. The digital screen ensures both a high resolution in the final print and a standardised method to graining the plates.
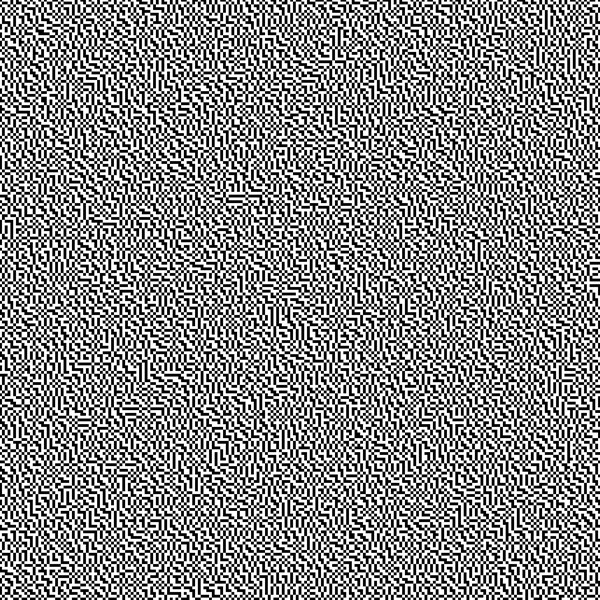
Digital screen created by diffusion dithering from a smooth medium gray image. The digital image is then printed on high contrast film by an imagesetter.
A photomacrograph taken from a plate shows that its labyrinth scheme is accurately reproduced after the etching process (Fig. 2). Nevertheless, looking at the photomacrograph taken from the corresponding print, this geometrical scheme is completely lost when the ink passes to the paper under the etching press. The screen scheme merges with the paper fibres and it is no longer present, creating an even tonal shade.
The calibration system also benefits from digital image techniques. The first thing to control is the total density range of the positive transparency. Then, it is necessary to print a suitable test target using the same method as for the positive transparencies.
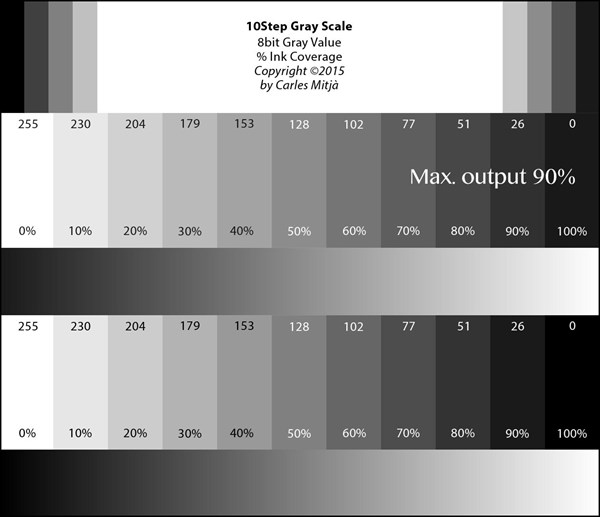
Grayscale Step Wedge to calibrate the method. The test is used to adjust the positive image Optical Density range, the UV exposure time and the digital image processing curve linearizing the gray ramp.
The imprinted density range from black to white can only be reliably monitored with a transmission densitometer.
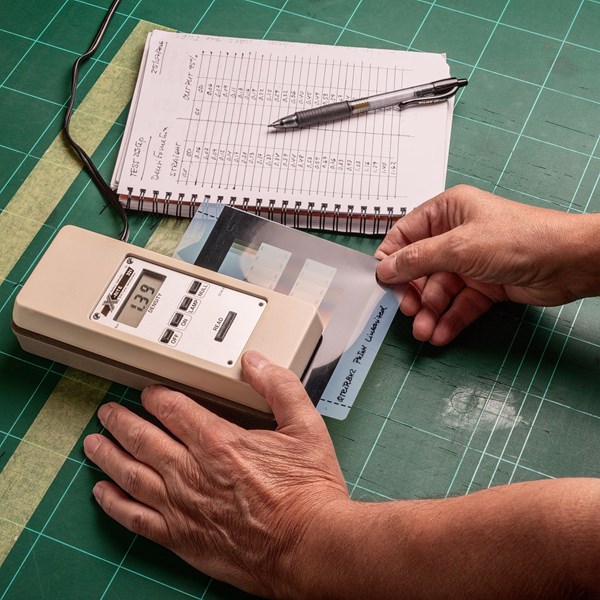
The densitometry of the printed test allows to fine tune the QuadToneRIP software in order to adjust the optimal Optical Density range.
Suitable density range depends on the light source, the kind of carbon tissue and the sensitiser concentration employed. The second thing to adjust is the linearity of the grey tones in between the total test scale. Digitising the resulting test target in a final print makes it possible to take readings of pixel grey levels on the test patches. With these readings it is not too difficult to build a software curve compensating for the lack of linearity (5-Mitjà). As a final statement, do not forget that a perfect linearly etched plate cannot provide a fine print by itself. The techniques of inking, plate wiping, paper dampening and etching press are decisive contributing factors to be borne in mind to obtain a fine print, not just a simply correct one.
The process
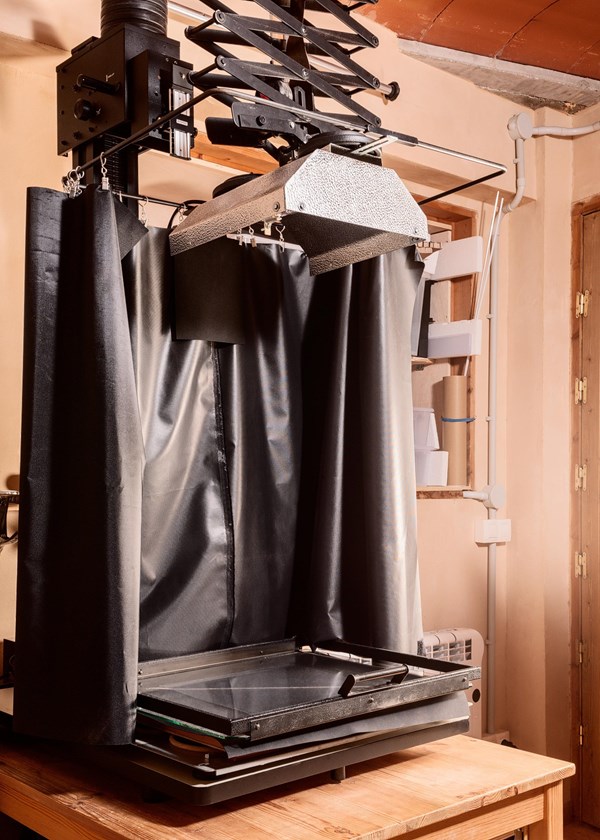
Ultraviolet lamp with a distance adjusting system. On bottom, the vacuum press. The safety black curtains protect the operator from the hazardous radiations.
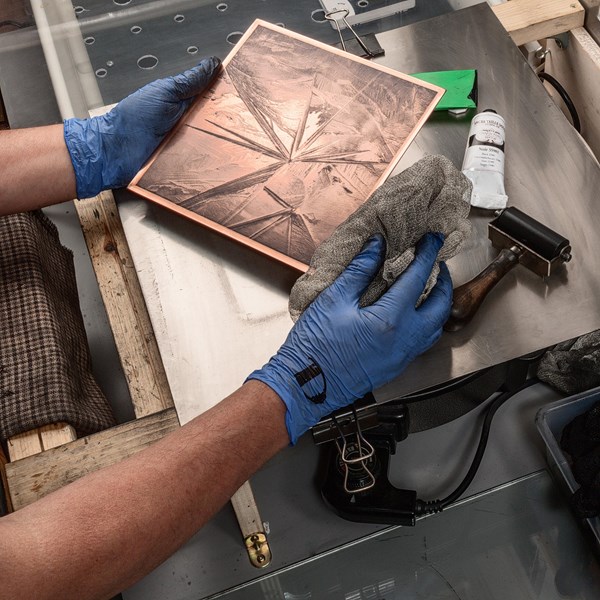
The plate is inked with a brayer and wiped with the so called tarlatane cloth.
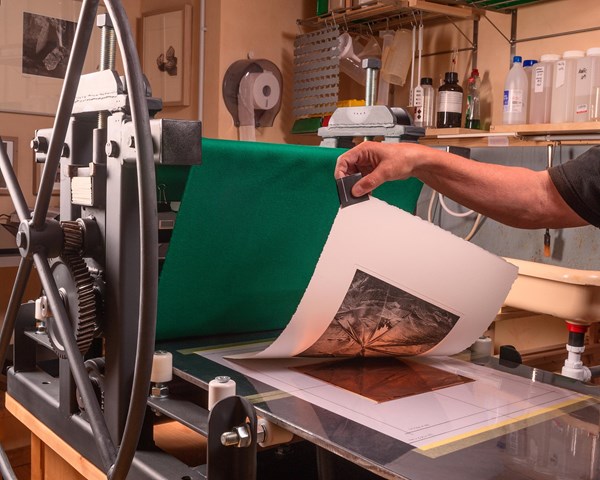
The inked press and a dampened paper are passed through the cylinders of an etching press.
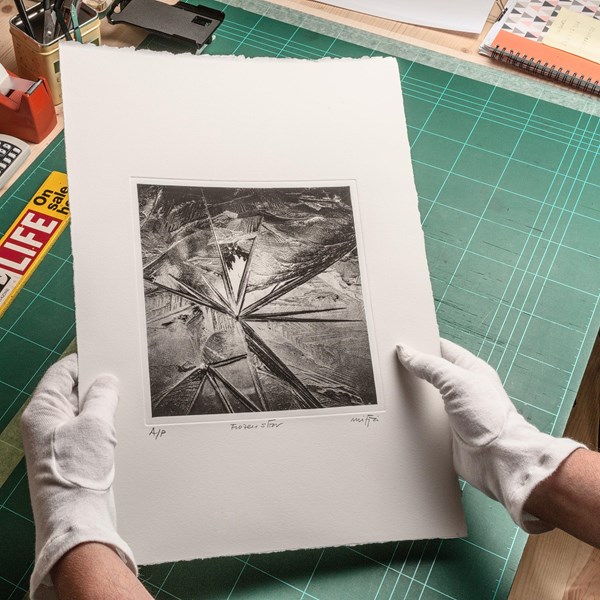
The final print on a high quality paper shows the characteristic plate embossing.
Final statement
Finally, why do photogravure? Although there is a difficult and long process, if all the steps are correctly followed, a photogravure gives a complete tonal range of image with subtle light, smooth transitions and dense blacks, and this is especially the case with classic oil based etching inks with which a sense of thickness is clearly perceived. A photogravure looks more like an object than a flat sheet of paper. In these days of digital imaging, photogravure as a final art gives the digital file a physical, tangible and potentially long-lasting life. It combines the advantages of contemporary technology with the sensitivity of the hand-crafted.
References
Bibliography
Suppliers
